
.png)
The (Updated) All-In-One Guide to Localizing with Ditto
The new and improved end-to-end guide to managing localization in Ditto.
For your team to effectively manage product text—from draft, to design, to review, to development—that workflow needs to account for all of the text that actually ships to users. For a lot of teams, that includes localized text.
Managing localization, for a lot of teams, can be a headache. Some teams have used a TMS (translation management system) to manage translations: storing strings, coordinating translators, and generating localized files for development. In the past, many teams have also connected a TMS to Ditto, in order to manage translation as a separate step in their workflow.
But localization isn't a separate step – it's a core part of managing product text. To build the best product experience for every user, localization belongs in the same system. We've invested in the streamlined, AI-supported localization features your team needs to bring translation management into Ditto — so your team can draft, translate, review, and ship copy all from one place, without splitting the workflow across tools.
In this post, we'll first cover how localized text is structured in Ditto. Afterwards, we’ll walk through the full localization workflow in Ditto:
- Getting your text into Ditto
- Choosing which languages to support
- Getting your text translated
- Enforcing quality with locale-specific style guides
- Integrating localized strings into development
How localized text is structured in Ditto
Two features are especially relevant for localization in Ditto: Variants and Components.
Variants
Variants are your tool to write and manage variations of your text, right alongside the base copy. A variant maps a different string to the same text item, under the same key — so your base text might be "Submit," and your French variant of the same text is "Soumettre."
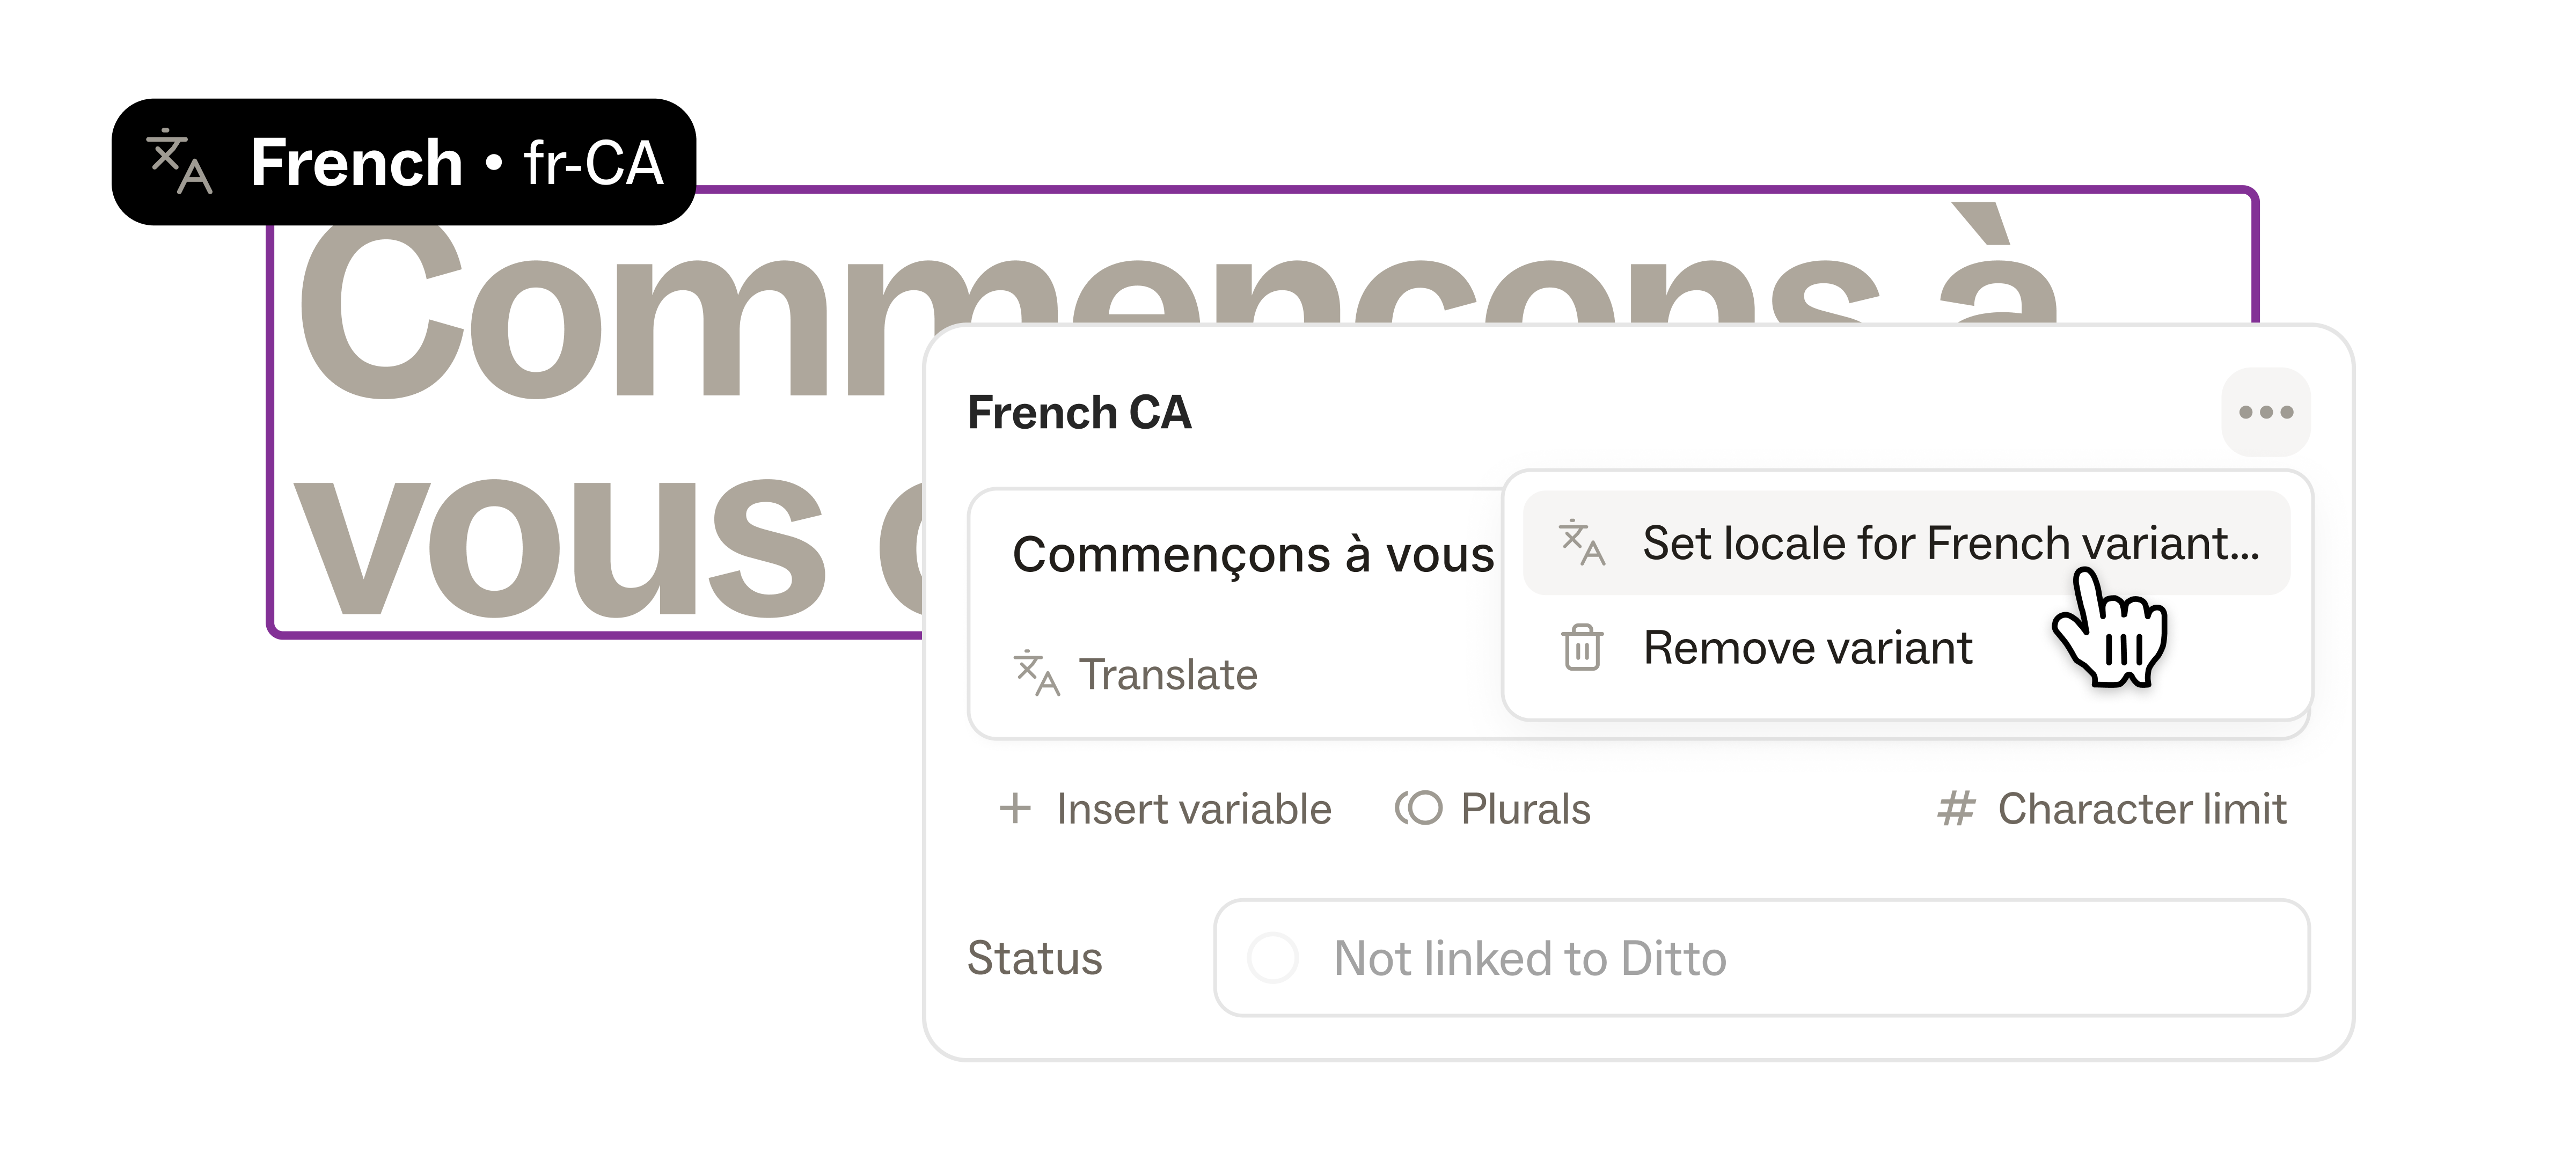
Each variant can be labeled with an explicit locale code (like fr, ja, or es-MX), which ties the variant programmatically to a real locale — not just a label. The AI features and developer handoff features in Ditto all reference that locale code directly.
Variant copy can be previewed directly in designs, so your team can quickly see how translated text fits in the UI — without duplicating frames or copy-pasting just to check the fit.
Components
Components are reusable text items that get saved to your Ditto Library, to reuse and sync across your product. Any edits to a component's text or metadata automatically sync to every place that component is used.
Variants and components work together to save time with translations. You can add add a variant to a component, which enables automatic translation in the variant’s locale to all of that component's instances — so if you've translated a CTA in one place, you won't have to translate it again elsewhere. Rather than translating screen-by-screen or re-translating existing phrases, you can translate components once and save those translations for reuse.
How it all fits together
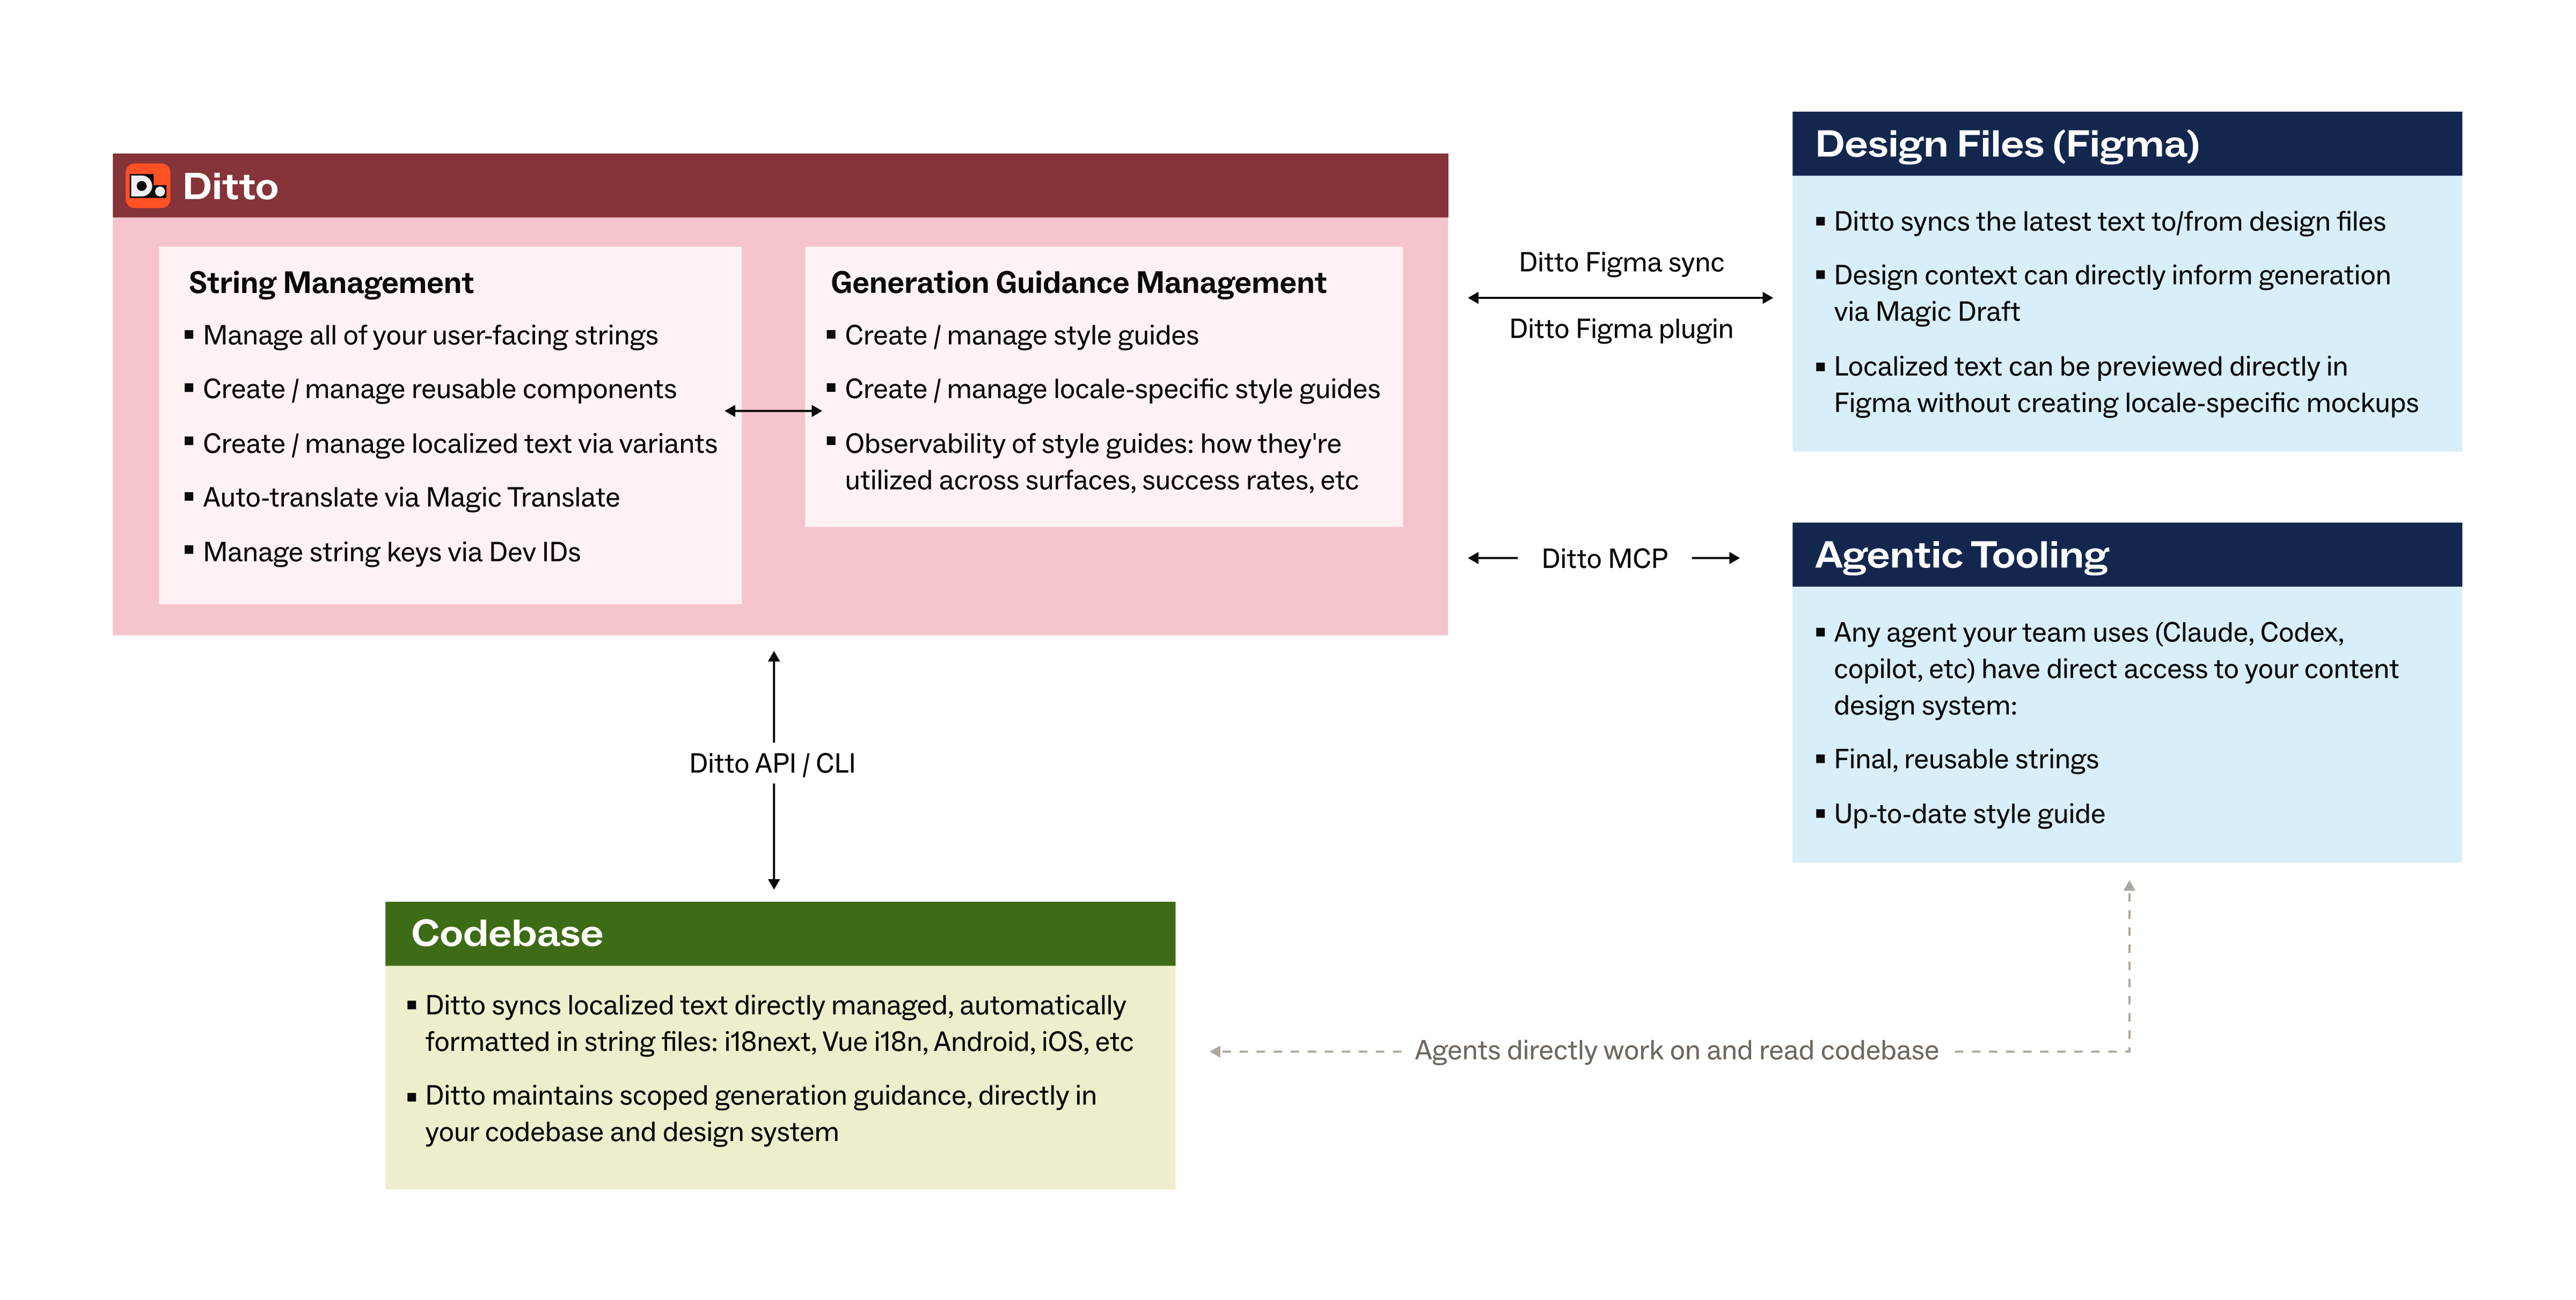
Your content system in Ditto sits scross design and development. Bring text in from Figma (or import it directly from your codebase), edit, and translate it in Ditto using variants, and then pull the localized strings directly into the codebase. Translations can also be previewed in the designs at any point using the Figma plugin — so the whole loop stays connected.
Getting your text into Ditto
Before you can add locales and start translating, you'll need your base text in Ditto. There are a few ways to get it there, depending on where your text currently lives and how your team works.
From Figma: If your team is designing in Figma, you can create a Ditto project directly from your design file using the Ditto Figma plugin. The plugin pulls text from your mockups into Ditto, where it can be edited, reviewed, and organized — and stays linked to the designs so changes sync both ways.
In the web app: You can create a project in the Ditto web app and add text items directly — your best option if your text doesn't originate from a design file, or if you're working with text that's already been written elsewhere.
Via the API: If your team already has string files (including localized files), you can import text into Ditto through the API. This is a good path for teams bringing in existing translations or migrating text from another system.
Coming soon — directly from your codebase: We're building support for importing strings directly from your codebase into Ditto, whether they're hard-coded or already externalized into string files. Stay tuned.
For most localization workflows today, Ditto projects are where your team will add locales, translate, and review — so that's the context we'll focus on in the steps below. Once your base text is in Ditto, you're ready to add locales.
Choosing which languages to support
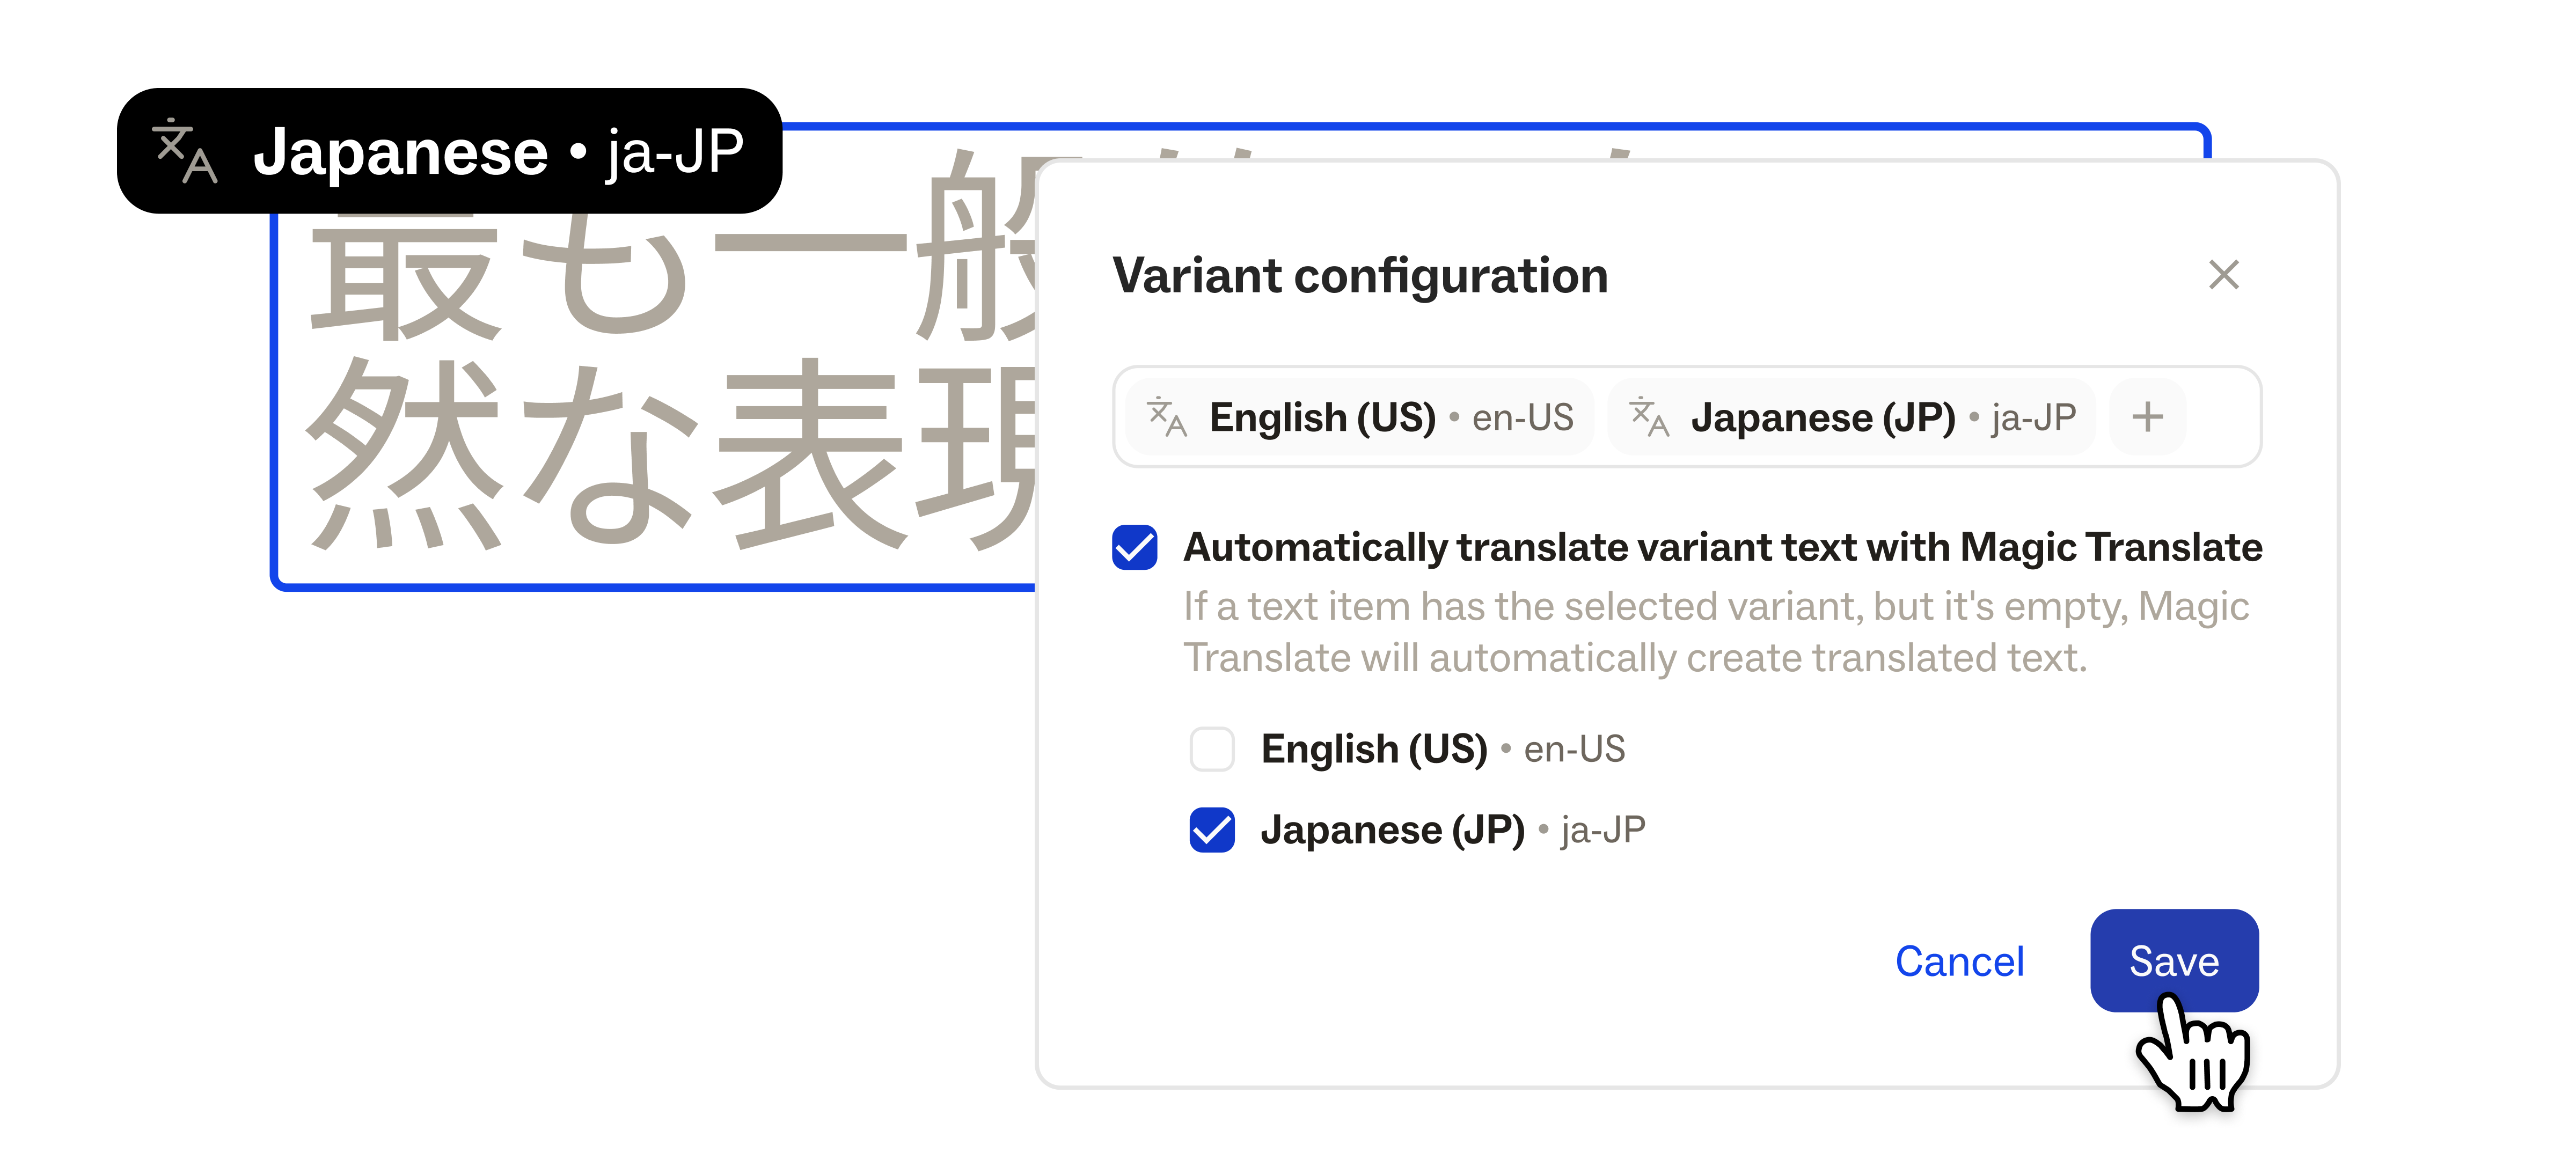
Once you have your strings in Ditto, you can select the locales you want to support. You can do this at the project level, which creates the variant (empty, ready for translation) for every text item in the project at once. You can also set this configuration for your entire component library, so that every component in your workspace gets the variant — useful if your team is localizing across multiple projects and wants translations to carry through the library from the start.
You can also add variants to individual text items manually, which is useful for one-off cases. But for most localization workflows, the project-level or library-level setup is the way to go.
Once you've created your variants, set a locale code on each one. (If you name a variant something like "French," Ditto will auto-suggest the matching locale code for you — one click to apply.)
Getting your text translated
With a locale code set on a variant, you can start translating. There are a couple of ways to do this in Ditto:
Magic Translate generates translations right in the text editing workflow. Select a text item, open a locale variant, and Ditto will generate a translation informed by the locale code and any style guide context you've set up. Review, edit, and approve the translation without leaving the project.
You can also write or paste in translations manually — if your team works with external translators or has translations coming from another source, you can enter them directly on the variant.
Enforcing quality with locale-specific style guides
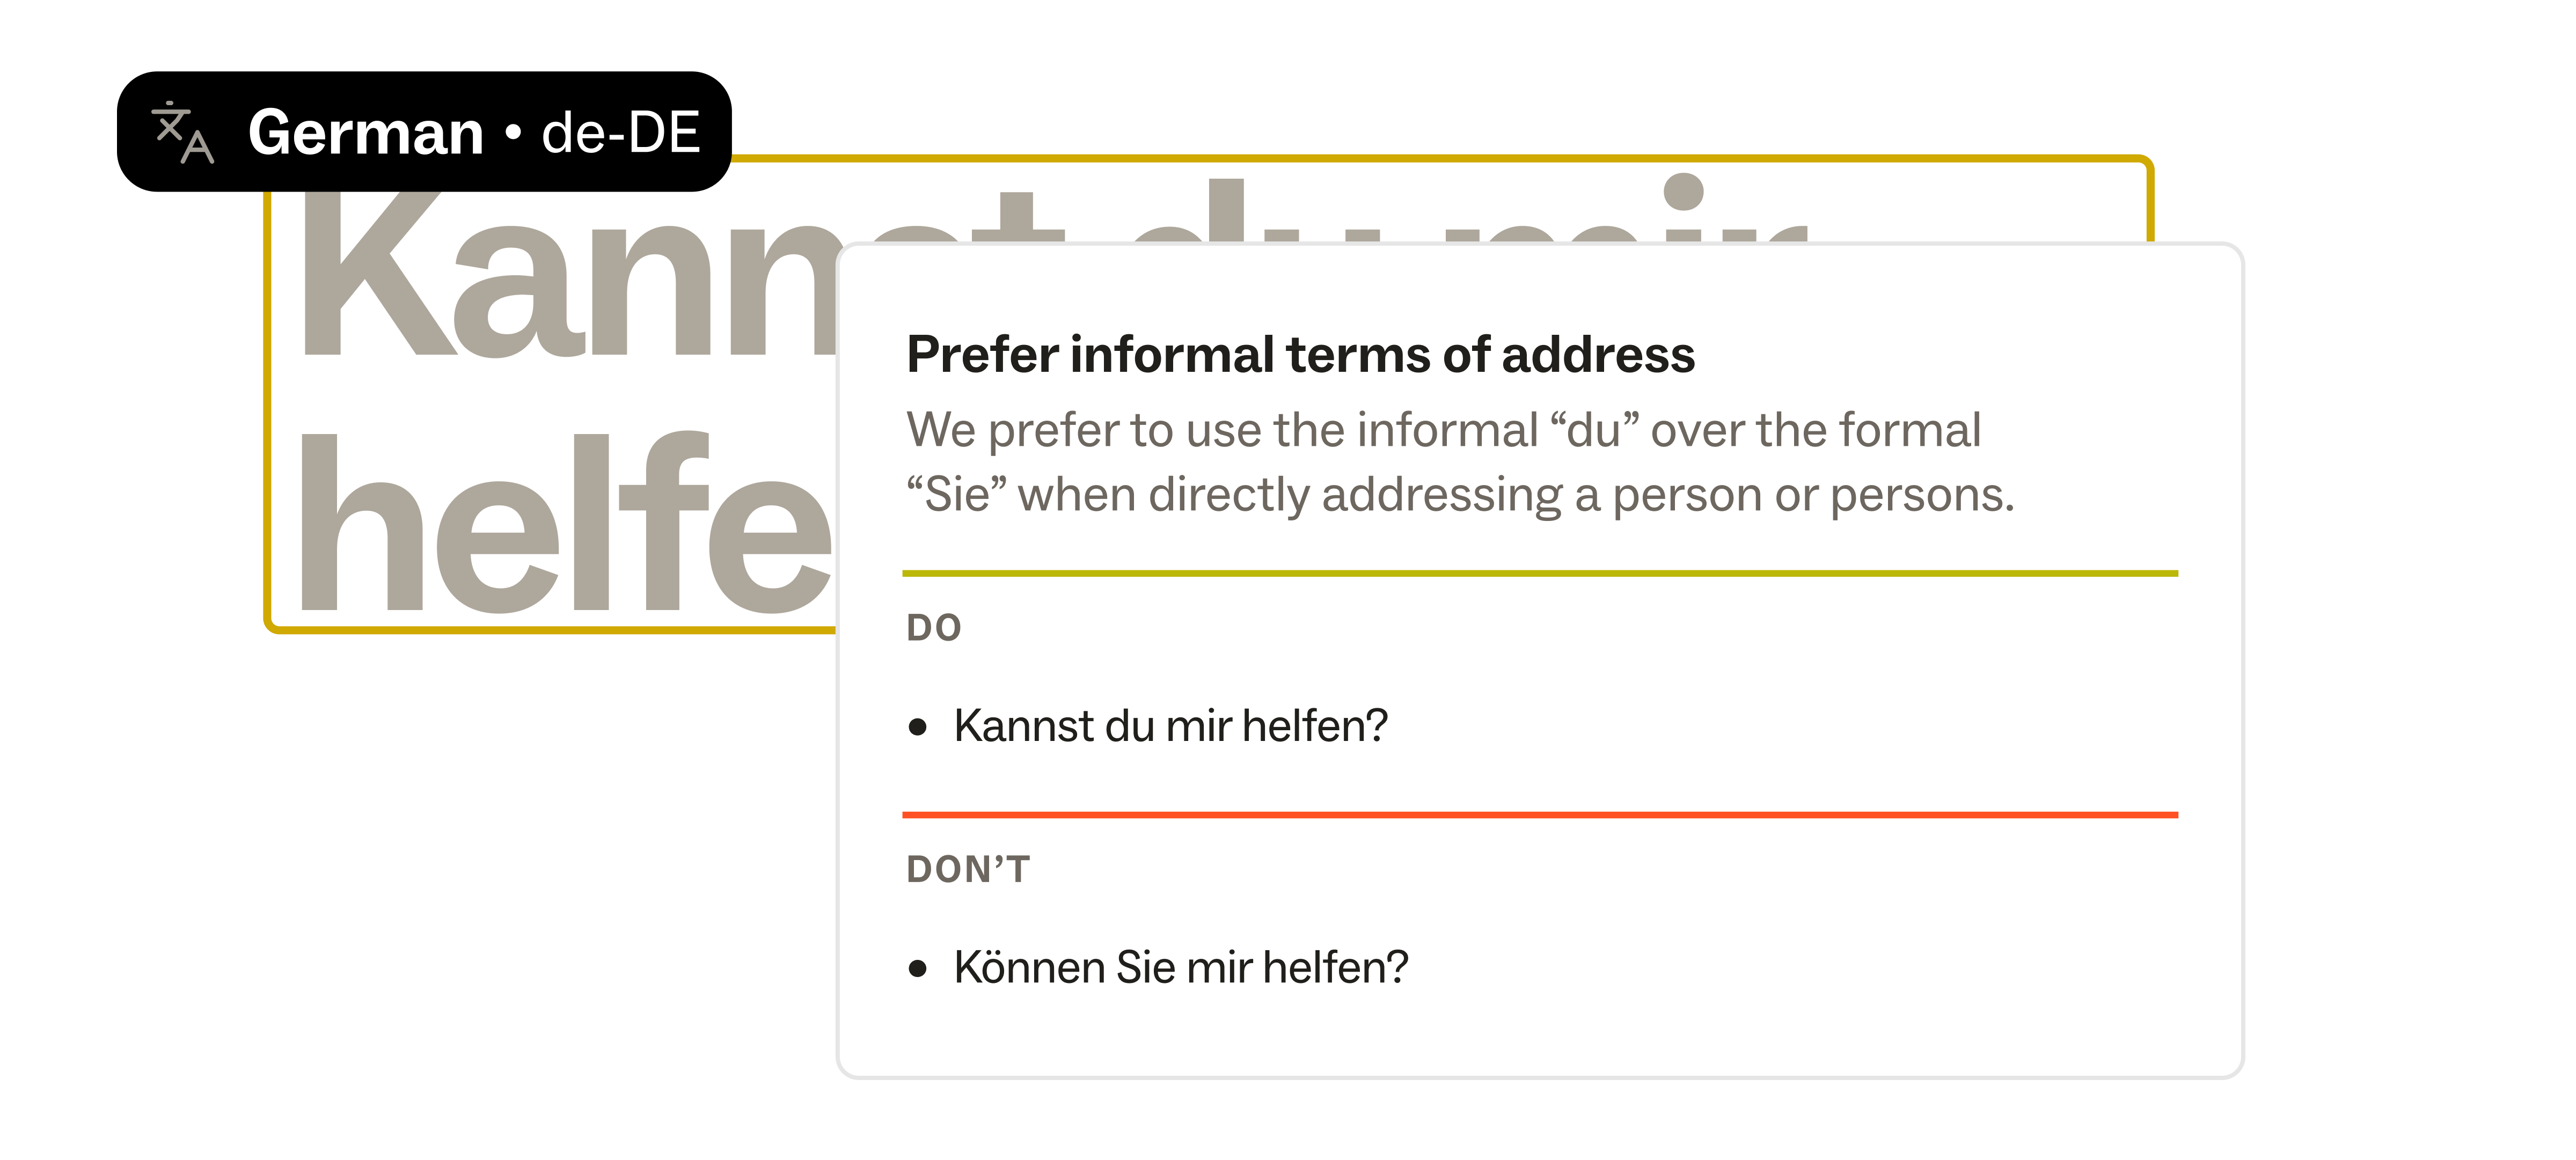
Ditto's style guides can be customized with standards for specific locales. You can build rules for a specific language — covering terminology, tone, formatting conventions — or attach a locale to individual rules within a broader style guide.
When Magic Translate generates a translation, it pulls in those rules as context, so the output already matches your standards.
Locale-specific style guide checks also run as your team reviews and edits translations. When someone is working on variant text, Ditto will surface style guide violations and suggest edits — the same way it does for base copy. This means your locale-specific rules aren't just informing the initial translation; they're enforced throughout the review process.
Integrating localized strings into development
Ditto makes it easy to deliver translated text directly to development. This section is most relevant for your engineering team. If you're a content designer, localization manager, or designer, you may want to share this with a developer — or point them to our developer documentation for full setup details.
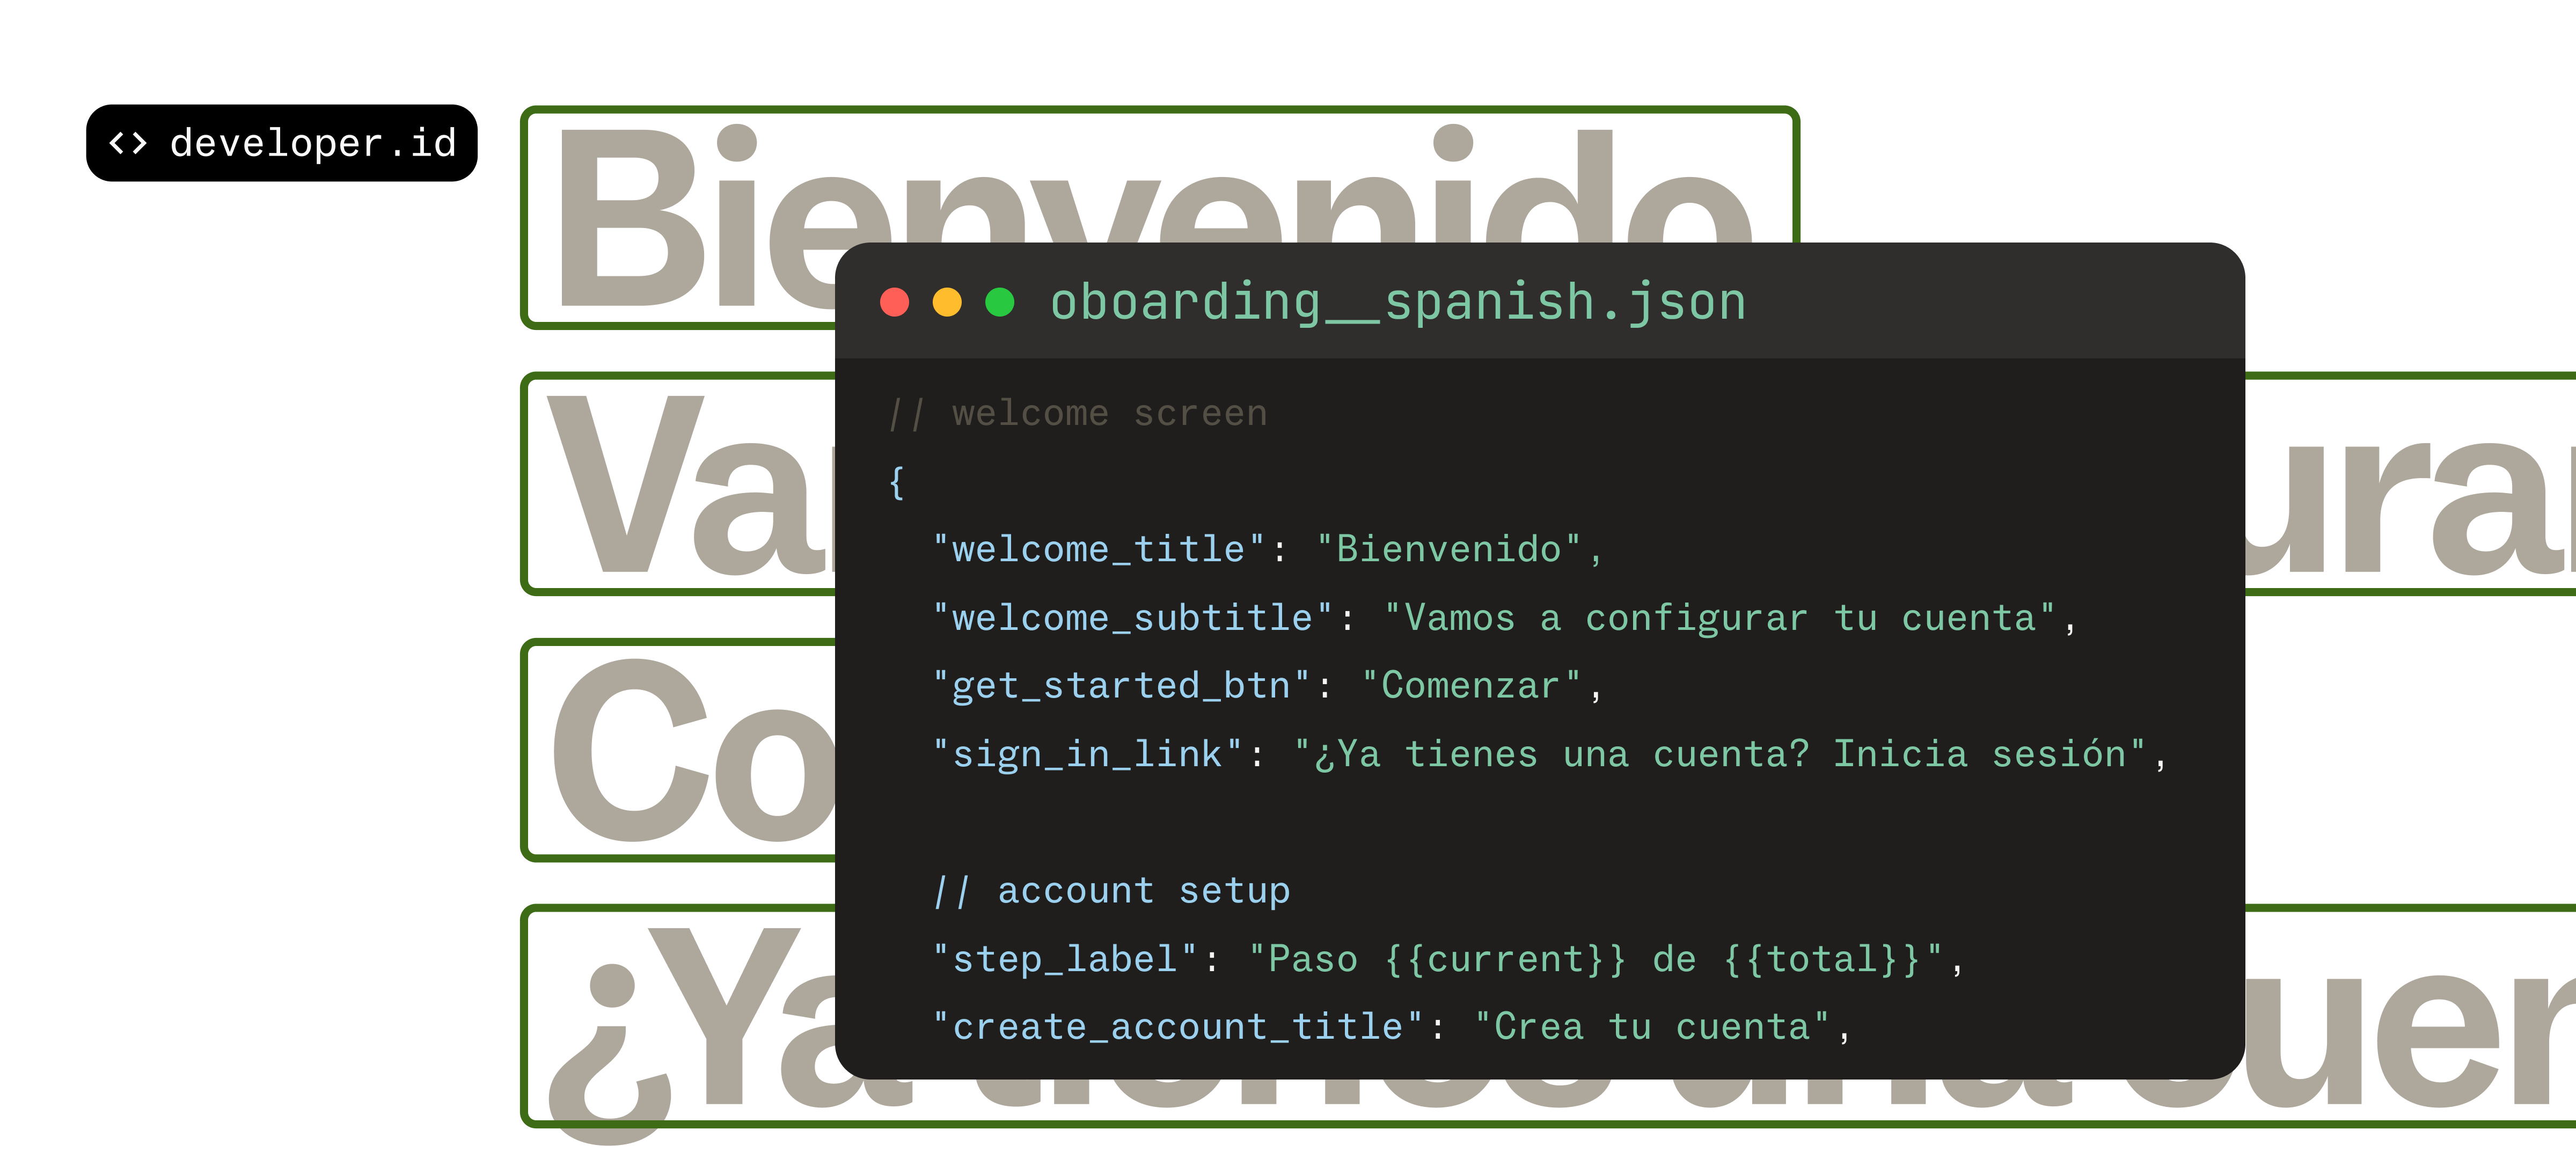
Ditto generates localization-ready string files using your variants, with each variant corresponding to a language/locale. The Ditto CLI pulls your text into separate files per variant (e.g. your_project__french.json, your_project__spanish.json), keeping the same text keys across variants so they can be swapped to localize text in the product.
Every text item in Ditto is assigned a developer ID — a human-readable key that serves as the identifier across all locale variants. Your team can configure how these IDs are generated at the workspace level, including casing conventions, allowed characters, and character replacement rules, so the keys in your localized string files match your codebase standards without manual cleanup.
Ditto's output files are directly compatible with internationalization frameworks like i18next and Vue I18n, and also support Android XML and iOS .strings/.stringsdict formats. For full details on configuring the CLI — including setting up your config.yml, mapping iOS locale identifiers, and working with plurals — see the CLI configuration guide.
When translations are updated in Ditto, your team can pull the latest strings with a single CLI command. Many teams wire this into CI — Ditto's GitHub Action can automate a pull on every build, or you can use webhooks to trigger updates when text changes. No manual file handoff required.
Localization as part of the workflow, not apart from it
The whole point of managing product text in one centralized content system is that you don't have to split your workflow across tools — and localization shouldn't be the exception. When translations live alongside your base copy in Ditto, your team can start localizing as soon as text is drafted, review translations in design context, enforce quality with from the same set of style guides, and pull localized strings into the codebase.
If you're currently using a TMS, we still have integrations with tools like Lokalise and Crowdin — so you can connect the two systems instead of switching overnight. But for teams looking to consolidate, Ditto can handle the full localization workflow.
For more information, check out our developer documentation or our product help guides. And if you want to see it in action, book a time with our team.